
Back in December 2020 – I did some work on my brother’s laptop – https://j0hn88.wordpress.com/2020/12/04/renew-it-lenovo-y520-15ikbn-laptop/ and during this work, I replaced the existing 128GB NVMe with a Samsung 970 Evo 500GB NVMe.
When my brother was coming over for Christmas, he mentioned that the laptop had been having intermittent problems, mostly not booting and ending up with this recovery screen.
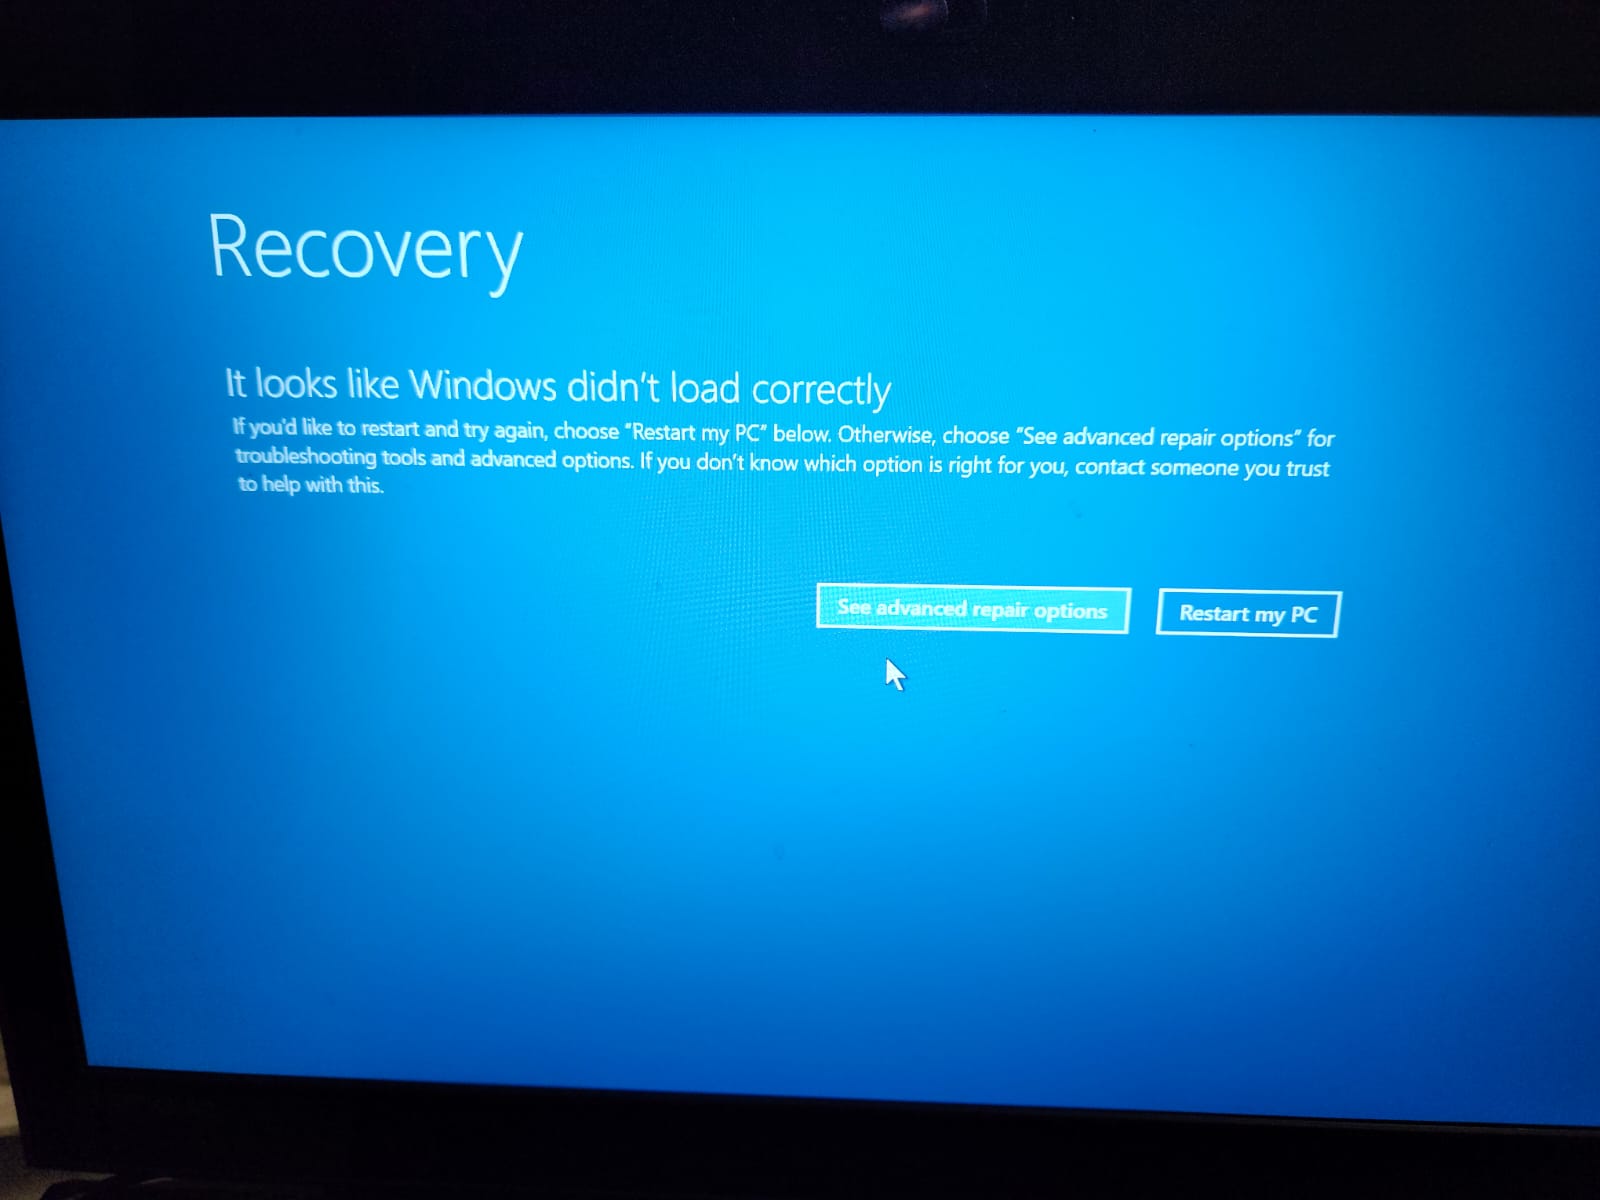
I suggested that he bring it over and leave with me to look at. I had a quick look, and the laptop would intermittently reboot itself – so I thought that it may be due to the disk. In this case, the Samsung NVMe. After removing the numerous screws, the bottom cover of the laptop was removed and I could then take the NVMe out.
I installed the NVMe into my recovery machine, and added a new 2TB SSD. I intended to copy the NVMe to the SSD. I ran DD-Rescue and during the copy, it found 14 bad sectors. The NVMe can have bad sectors for numerous reasons including corrupted data, uncorrectable read errors and even bad checksums. I bought another NVMe – this time a Silicon Power 512GB NVMe. As my data recovery machine only had a single M.2 slot, I also bought an Orico M.2 NVMe to PCIe expansion card.
The new NVMe was installed into the expansion card, and I booted into Ubuntu and proceeded to copy the NVMe. This time the copy finished with 20 bad sectors. Hmm! Seems like things are getting worse – could be. Anyway, I put the Silicon Power NVMe back into the laptop and powered it up.
It booted fine, and I logged in and from an administrative command prompt – ran sfc /scannow in order to validate the system files. It completed after a short time and had to repair one file – ok, good. After doing this, I tested it by rebooting and shutting down, powering up, etc – and it didn’t have any problem. The only thing I found was that leaving the laptop without logging in seems to end up with a frozen black screen. This was likely that it was going to sleep but wasn’t waking up – or maybe it wasn’t properly in sleep mode as the Numlock light was on – I will look at this later on.
Since the Samsung NVMe had intermittent errors, I decided that I really should test it after running a secure erase. But before then – I decided to do a partition backup. This would allow me to check where the bad sectors were located.
I ran the command sudo fdisk -l /dev/nvme0n1

The first partition starts at sector 2048 – ok, and appears to be a 2048 sector gap between partition 3 and partition 4 – no matter. Let me copy the first 2048 sectors, which will contain the master boot record and other gpt partition data with sudo dd if=/dev/nvme0n1 of=mbr2048 bs=512 count=2048
No errors, then copy partition 1 sudo dd if=/dev/nvme0n1p1 of=nvme0n1p1.dd
No errors, continuing with partition 2 sudo dd if=/dev/nvme0n1p2 of=nvme0n1p2.dd
No errors again, now for partition 4 sudo dd if=/dev/nvme0n1p4 of=nvme0n1p4.dd
The Windows recovery partition copied without errors again – that’s good. Now for the main partition 3 sudo dd if=/dev/nvme0n1p3 of=nvme0n1p3.dd conv=noerror,sync with some extra parameters since I think it might contain bad sectors, so will ignore errors and replace bad sectors with blank sectors to maintain the sector continuity.
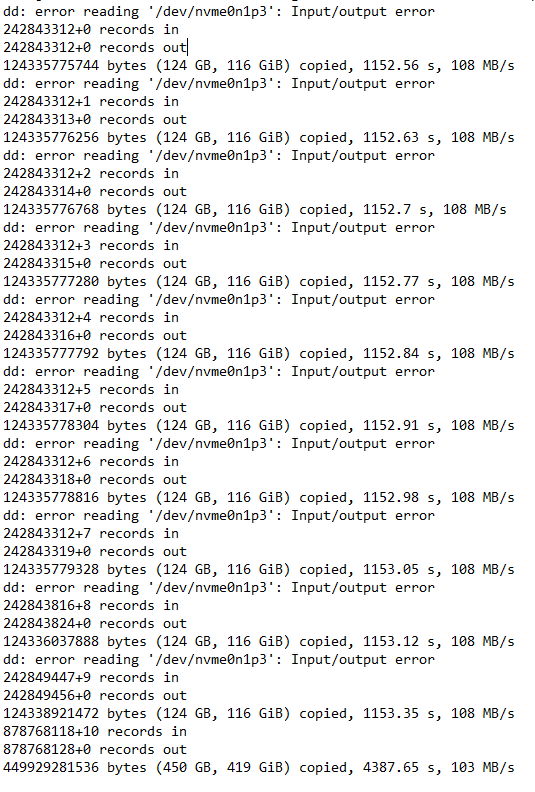
From the output, it appears that there were 10 errors. 8 bad sectors at 242843312, then 1 at 242843824 and another at 242849456. I thought I should try recopying those sectors and see if I can read them properly.
sudo dd if=/dev/nvme0n1p3 of=242843312.dd bs=512 skip=242843312 count=8
That worked ok, let me continue with sudo dd if=/dev/nvme0n1p3 of=242843824.dd bs=512 skip=242843824 count=1
Again fine, then the last one sudo dd if=/dev/nvme0n1p3 of=242849456.dd bs=512 skip=242849456 count=1
Again ok, so the sectors were intermittent and now I have all the data sectors. With this in hand, I proceeded to secure erase the Samsung NVMe. The process was a little involved since I had to boot back into Windows, install Samsung Magician software, then run it to create a USB bootable disk that would erase the NVMe. Once the USB was created – I powered down and removed all the disks except for the NVMe – would want to accidentally erase my Ubuntu or Windows disks, would I?
Power up and press F11 which is the boot menu key, chose to boot from USB and after accepting the prompts, the NVMe was erased after a short time. Power down, plug in my Ubuntu and data disk again, then power up, boot from Ubuntu. The process to write back to the NVMe was to first copy the mbr data with sudo dd if=mbr2048 of=/dev/nvme0n1
Then I would shutdown, then power up, so that Ubuntu would see that the NVMe has a partition structure, even if the partitions are missing. Then the following commands were run sequentially:
sudo dd if=nvme0n1p1.dd of=/dev/nvme0n1p1
sudo dd if=nvme0n1p2.dd of=/dev/nvme0n1p2
sudo dd if=nvme0n1p3.dd of=/dev/nvme0n1p3
sudo dd if=nvme0n1p4.dd of=/dev/nvme0n1p4
sudo dd if=242843312.dd of=/dev/nvme1n1p3 bs=512 seek=242843312 count=8
sudo dd if=242843824.dd of=/dev/nvme1n1p3 bs=512 seek=242843824 count=1
sudo dd if=242849456.dd of=/dev/nvme1n1p3 bs=512 seek=242849456 count=1
Since Ubuntu knew where the partitions should start from, those commands would restore the original 4 partitions, then the last three were to copy sectors that had been bad during the original copy. The seek= means to move the output pointer to that location before writing. Since I specified the block size (bs=512) to be a single sector, the count specifies how many sectors to write. I wanted to ensure that it didn’t overwrite anything except the missing sectors.
Once this was done, I plugged in my 2TB SSD and then performed a new copy from the NVMe to the SSD to test the integrity of the NVMe. The result was no errors – which was great. After shutting down, I took the Samsung NVMe and put it back into the laptop and tested again. After running the system file checker (sfc /scannow) which the same result, the laptop was booting up and running fine. I installed the Samsung Magician software and checked the NVMe SMART characteristics and it indicated that there were numerous times when the NVMe power was lost before a shutdown signal was seen. That was probably related to the times the laptop would go to sleep and not be able to be woken up.
Google indicated that there were a number of people who had this problem. I decided to disable hibernation on this laptop, by running the command powercfg /h off from an administrative command prompt. After this, I check to ensure that the sleep settings were set to Never, so should never go to sleep. This was done in Power Options.
Since then, it hasn’t gone to sleep even if I didn’t log on – ok, looks like problem might be solved and another successful Recover.IT.
All of this testing took place over a number of days since I wanted to be sure that the laptop wasn’t going to play up. My brother can now come and pick it up and to let me know if it starts happening again. If it does, then I should have a good case to return it for warranty replacement. If the laptop is shutdown in the middle of doing something, the writes to the NVMe might be interrupted and resulted in a half written sector or corrupted data. Fingers crossed that the problem is now resolved.
[Note 1: Before I forget – I had to do one more thing. This was to run sudo fdisk /dev/nvme0n1 and then put in a write command. This was to write the backup gpt partition data to the end of the disk where it expects it to be. My original copying only copied the main mbr and gpt partition data.]
[Note 2: The cpu fans were also very clogged up, so with the bottom cover removed, I also took the fan covers off then cleaned the fan blades by using tweezers to scrape the black dust and dirt from them and vacuuming. I didn’t take photos unfortunately, but I leave that to your imagination.]

“My brother can now come and pick it up and to let me know if it starts happening again. If it does, then I should have a good case to return it for warranty replacement. ”
Surely not a warranty claim on the laptop, which must be over 3 years old? I am impressd with the level of effort you went to – I might have stopped once the laptop was running with the SP replacement!
LikeLike
Martin, I found that the NVMe was readable most of the time. I thought that it may be corruption, so a secure erase should reset the encryption keys and it seems to have done this. Up to a couple of weeks ago, the laptop was still working fine, so I will leave it at that. Now his daughter wants me to upgrade her laptop with a bigger NVMe (a different laptop) so will be seeing that one soon.
LikeLike