
The other day – actually around the middle of July 2018 I was talking to friends about Mars being visible. Then there was shortly going to be a lunar eclipse. In preparation of viewing the much anticipated lunar eclipse that was going to be the longest duration event for a long time, I dusted off my telescopes to see which one would be suitable to use for the viewing.
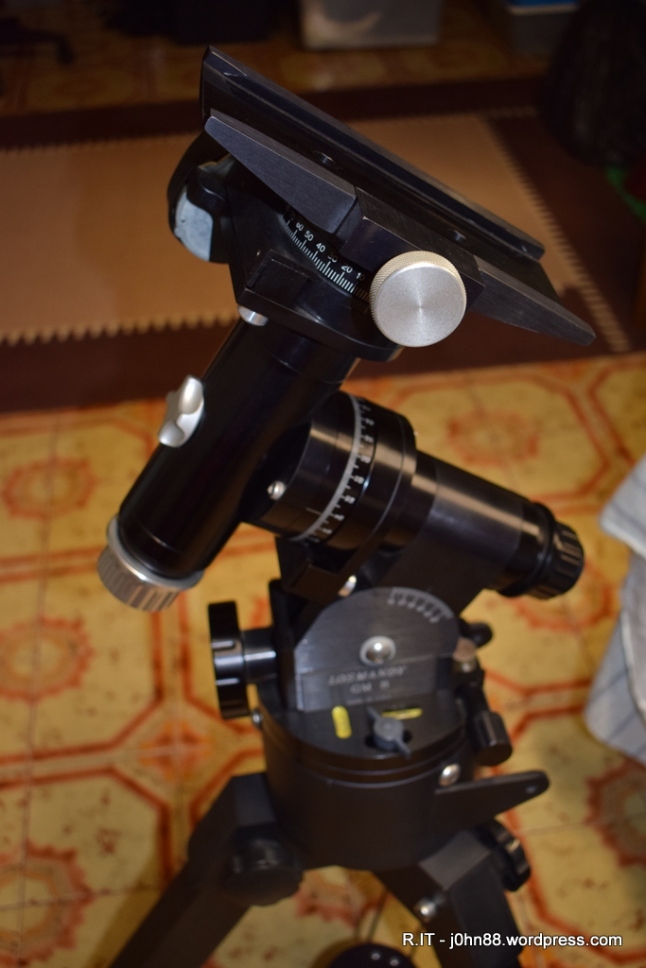
I went through some of my telescopes, one of them was a computerized Meade LXD-55 with a 6-inch Schmidt-Newtonian, but the view of Saturn was a bit small, so eventually settled on the big monster. Some years ago, before I started travelling, I had purchased a Losmandy GM-8 equatorial mount, together with a Meade 10-inch Schmidt Cassegrain optical tube assembly. Due to my travelling, and subsequent house move, this combination had very little use and was mostly in storage. The mount had been sitting in a corner for quite some time, and the optical tube assembly was inside its original box. I thought it would be a good time to let it see the light of day (or night) again.
A few days earlier, I had set up a measuring stick so that I could mark the Sun’s shadow at solar noon, which happened to be at 12:01 PM on those days. Knowing which direction the Sun’s shadow pointed to, at solar noon, meant that I could accurately know the direction to the South Celestial Pole (SCP).
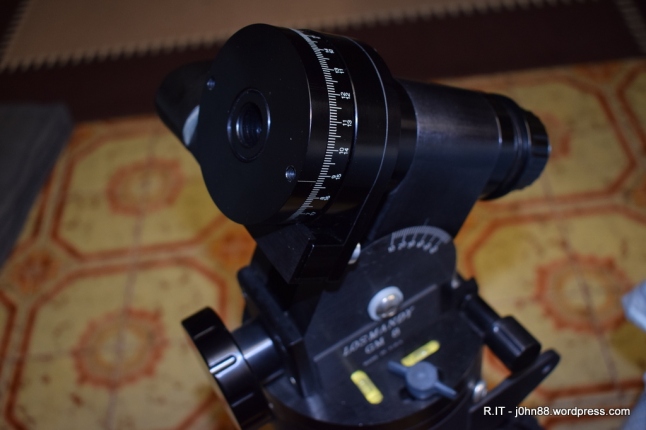
One leg of the Losmandy tripod was set in the direction of the SCP, then the mount was installed on top, so that the Right Ascension axis would point towards the SCP. The idea of this is that the RA axis, being parallel to the direction of the SCP would be in line with the rotation of the Earth. The motors driving the RA axis would counteract the rotation of the Earth so that the stars, planets, moon etc would appear to be stationary.
Of course the slightest misalignment would mean that some adjustment would still be needed, but having it close would mean that it would be small adjustments. I am digressing I think – just setting the scene to what I had in mind.
So during a nights viewing of the Moon, Mars and of course Saturn – I noticed that when slewing the telescope in the RA direction, the view would move then when I stopped slewing, the view would come back a bit, which in some ways is like backlash in gears – but this was enormous. I had noticed that the RA axis was a bit stiff, since I usually balance the telescope – and had a lot of trouble doing so, but since it was still usable, I ignored it at the time.
As it turns out, we were very clouded out on that Saturday, so there was little viewing of the lunar eclipse. In the following days when the clouds cleared up, there was some viewing, and then the rain came. Of course, I didn’t leave the optical tube outside, but did leave the mount there, covered with a plastic bag. During a violent wind storm, I came home, and the bag had been blown off, never to be seen again. I decided it was time to bring the mount inside.
When inside, I was then able to have a much closer look at the stiffness of the RA axis, in fact – it was so tight that I could feel some cogging, which meant to me, that the bearings had stopped working. After some thought, I decided it was time to see about getting to the bearings. On Google I found a number of people had seen this problem, especially when the mount was in storage for some time. This mount is about 20 years old, spending much of its time in a corner as I had no permanent place for it to live, like an observatory.
I removed the Declination axis, which was bolted onto the RA axis with two bolts. Then removing the various bits, left me with the RA axis tube sitting inside the RA assembly. After careful consideration, I used my rubber mallet to knock the tube loose. I had already loosed the main gear and worm drive, removing the motor – and as it turns out, I could have left those intact. After some effort, the tube came out and I could see that the tube showed the signs of frozen bearings.
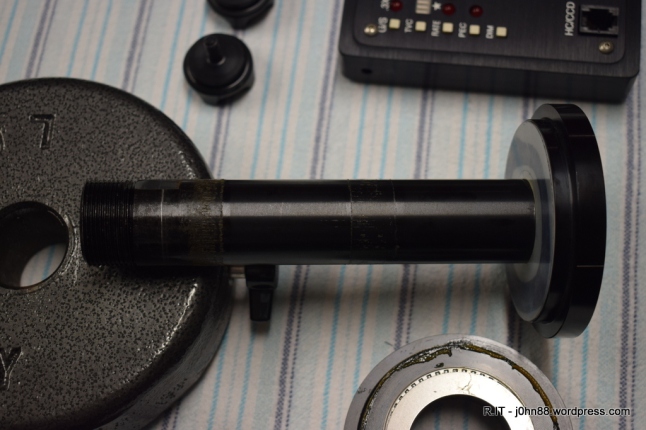
Then after moving the RA assembly to a horizontal position, here is a picture of the lower bearing.
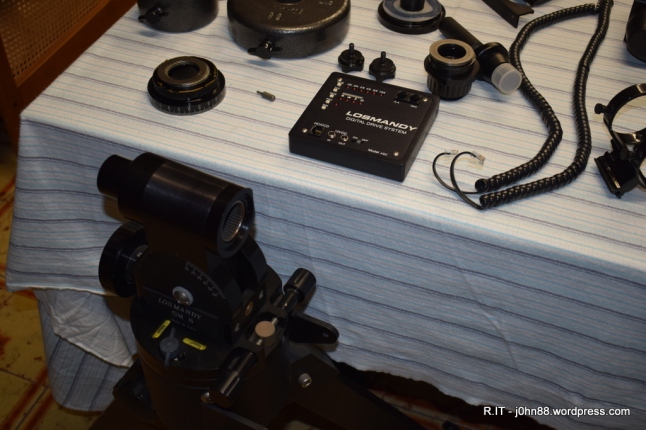
And of course a shot of some of the bits that came off the mount.
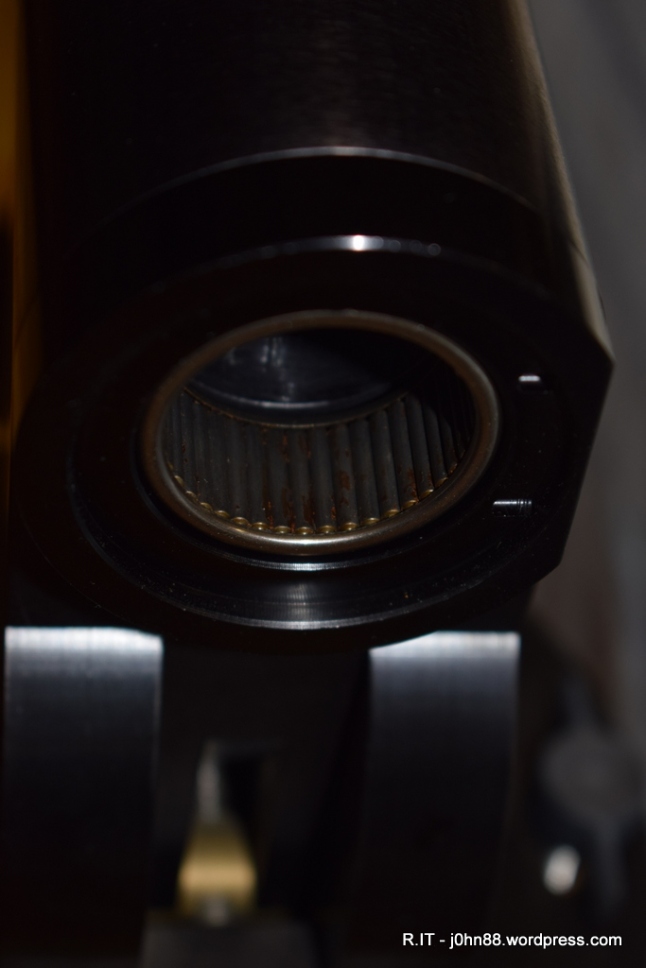
I could feel that the needle bearings were not spinning, which is a bad sign. After rubbing it, I sprayed the bearings with WD-40. One of the bearings is not visible, being set inside the assembly. The WD-40 can had a long nozzle which I used to get the liquid inside. Using a cotton cloth, I could move my fingers around and around the bearings – and they seemed to move a bit. Some of the old caked grease was starting to come off.
I got as much of the old grease off as I could, then sprayed more WD-40 and left it overnight.
The next day, I then used a cloth to clean the WD-40 out of the bearings and the bearings seemed to be working – with the needles spinning somewhat. More spinning of the bearings and another application of WD-40 and it seemed to be clean enough – at least the rag I was using was not coming out with a brown coloured gunk, but was coming out clean. More work with the rag, until it was coming out dry.
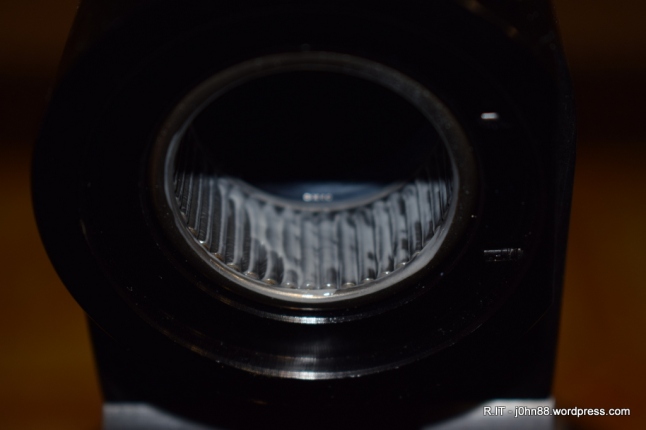
Leaving overnight again, for any further WD-40 to evaporate, then clean again with lint-free tissues, before regreasing the bearings. Before regreasing the bearings, I tested them by inserting the RA tube, then rotation the tube, which went well. I then used a white lithium grease that is in a spray can, typically available from most places like Bunnings, SuperCheap Auto, etc.
I sprayed the grease onto a piece of cardboard, then used my finger to scoop some grease and work it into the bearings. After further applications and doing the upper bearing that was inside the RA assembly, I was satisfied that I had sufficient grease on the bearings.
Then it was time to reassemble the RA axis, effectively – install the main thrust bearing, then the main gear that has the RA setting circle mounted on it. Install the worm drive, making sure that it meshes with the main gear, then mount the motor drive, and then worm drive cover, and finally insert the RA axis tube. At the lower end of the axis, install another main thrust bearing, then the clutch knob spacer, the clutch knob spring washer, then the clutch knob and tighten it up.
Almost done, now – what am I missing. Ah yes, the Declination assembly – this bolts on to the 2 holes in the RA axis tube.
Ok, finished – regreasing it. Well, almost! I still have to adjust the worm drive since there is still some play in it – I need to adjust the meshing of the worm drive with the main gear so that it is tight enough that it will rotate well but loose enough that it doesn’t bind or have any tight spots. I adjusted it as best as I could, but I would have to revisit this again next time I use the mount. All of this was done over several days and apparently, this regreasing may need to be done on a regular basis in the future, maybe every year or two.
I did mention that the RA axis tube is hollow, right? That is so that the polar scope can be mounted into it, so that we could adjust the axis to point directly at the South Celestial Pole, which is located somewhere in Octans, but I am digressing again…
