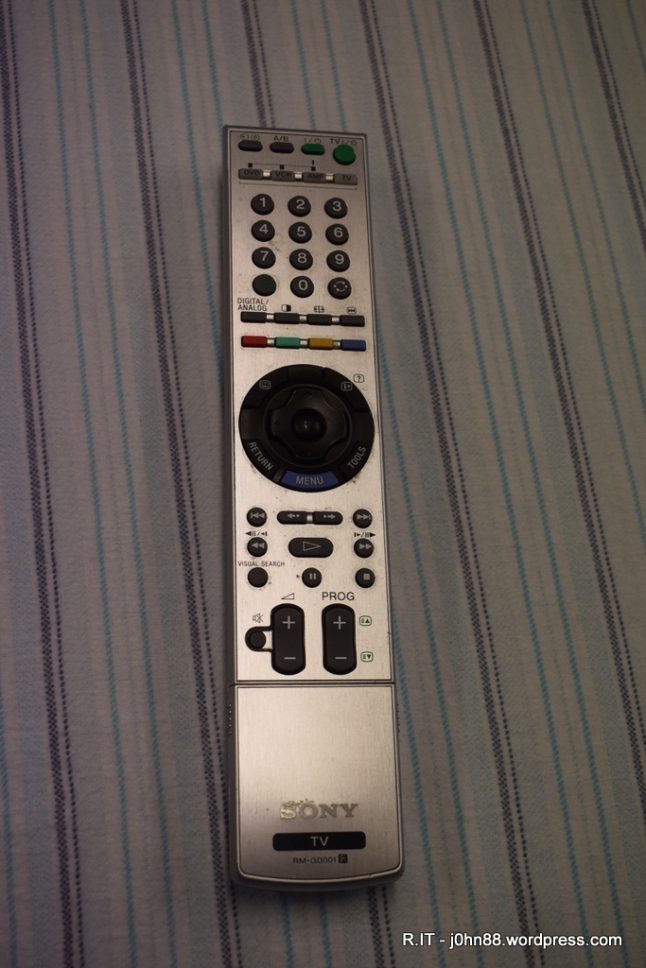
Here is another job that was sitting there for some time, having put up with the inconvenience patiently until it was time to look at it. This remote control for a Sony colour TV had been playing up – first it was unable to turn on the TV – but that was ok, since we use the side power button anyway. Then we couldn’t adjust the volume, again the side buttons still worked. How tolerant we are?
Then the input source selector stopped working, so we had to use the side buttons again, to access the menu so that we could choose a different HDMI input when we wanted to play Blu-ray movies. We went through the same hassle to switch back to the Google Chromecast, etc, until it happened that it was time to do something about. Maybe the wife complaining also helped to bump up the priority.
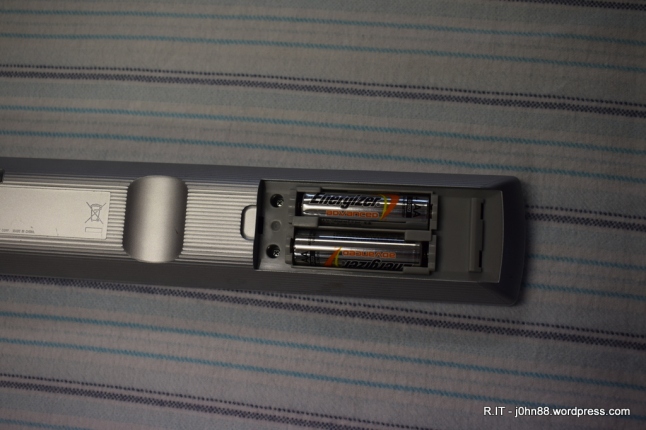
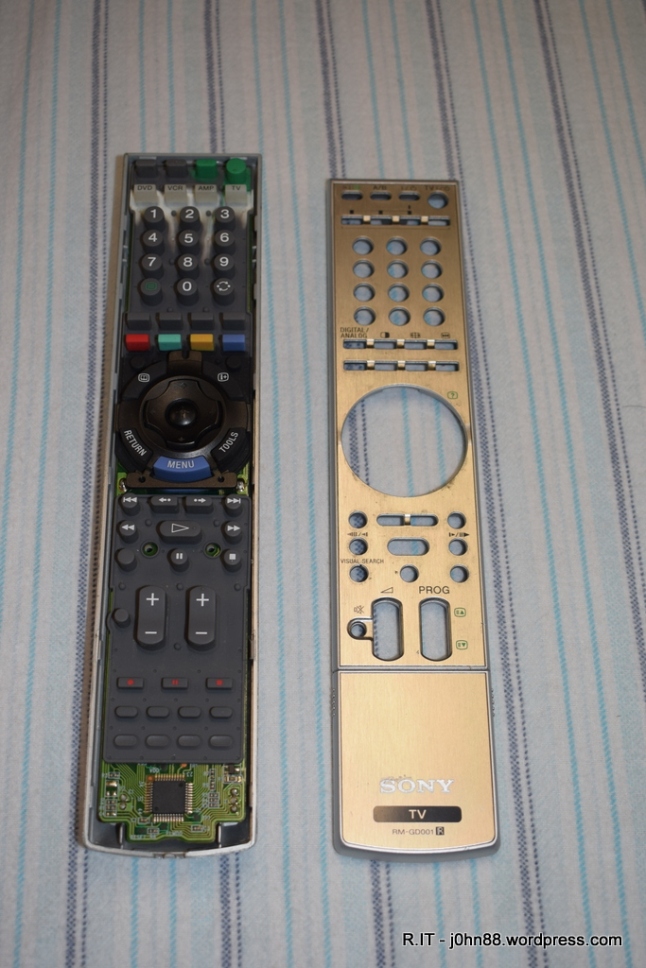
This remote control RM-GD001 was relatively easy to open up. By opening the battery compartment, I could see two screws that needed removing – this is usually a sign that the job will not be difficult. The ones where there are no visible means of fastening are usually the harder ones.
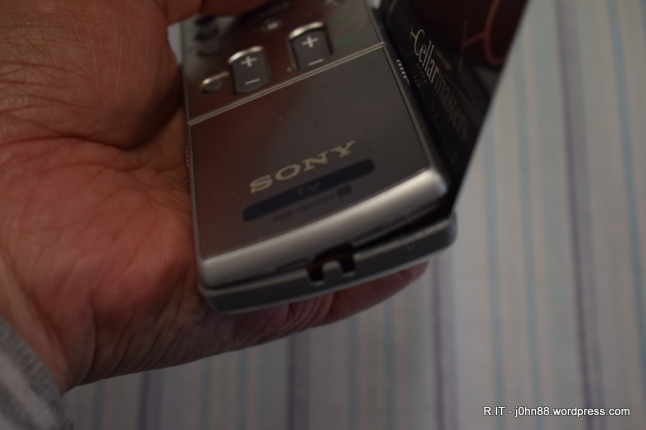
I needed the smallest precision Philips screwdriver since the screw slots were so small and thin. After removing the screws and the battery, I turned my attention to the bottom where there were two visible holes. By inserting an angled pair of tweezers into the two holes and pulling upwards, the bottom started to come apart.

Then once the opening was sufficient, I then use an old plastic card to slide into the opening then around the corner and with a click, the housing started to unlatch. You could use an old credit card, or used gift card (flybuys etc), since they are all a similar size and great for this purpose.
Once the two pieces of the housing were separated
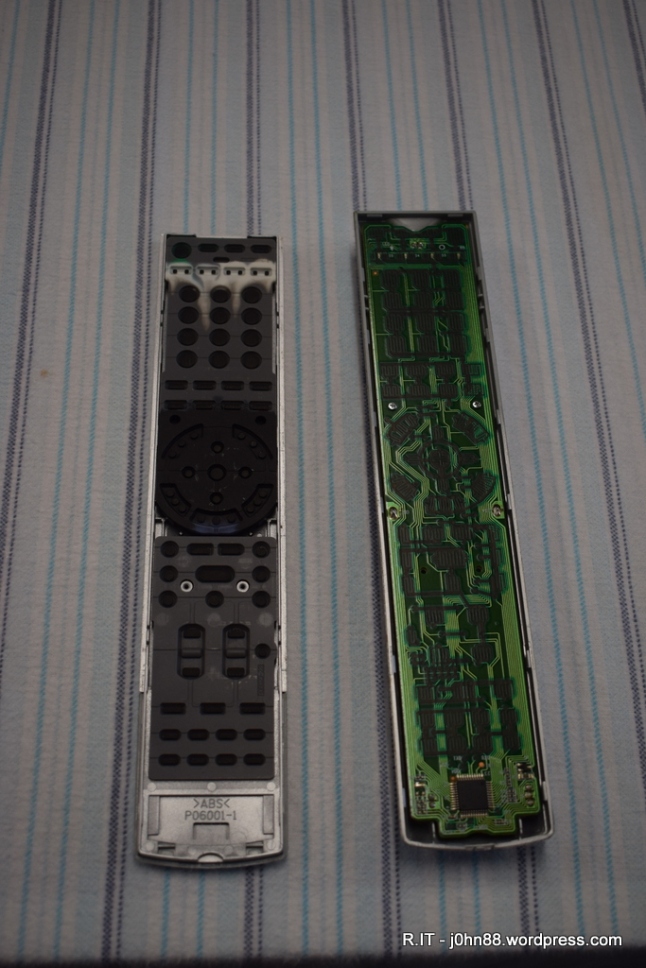
This it was a matter of cleaning the contacts. I used an alcohol wipe that I had previously bought from Officeworks. Similar products are available from chemists, pharmacies, computer stores etc. You have seen them before – nurses use them to clean the skin before giving you a needle. The good thing is that when it dries there is no residue, unlike methylated spirits.
If you are quick, you can use the same wipe to clean both the black circuit board contacts and wipe down the black rubber buttons which press down onto the circuit board. Once these were clean, I was able to put the batteries in, lay the rubber button overlay onto the board and try pressing some buttons and confirm that they do work.
Now was also a good time to clean the top surface of the remote control as the buttons are not going to get in the way.
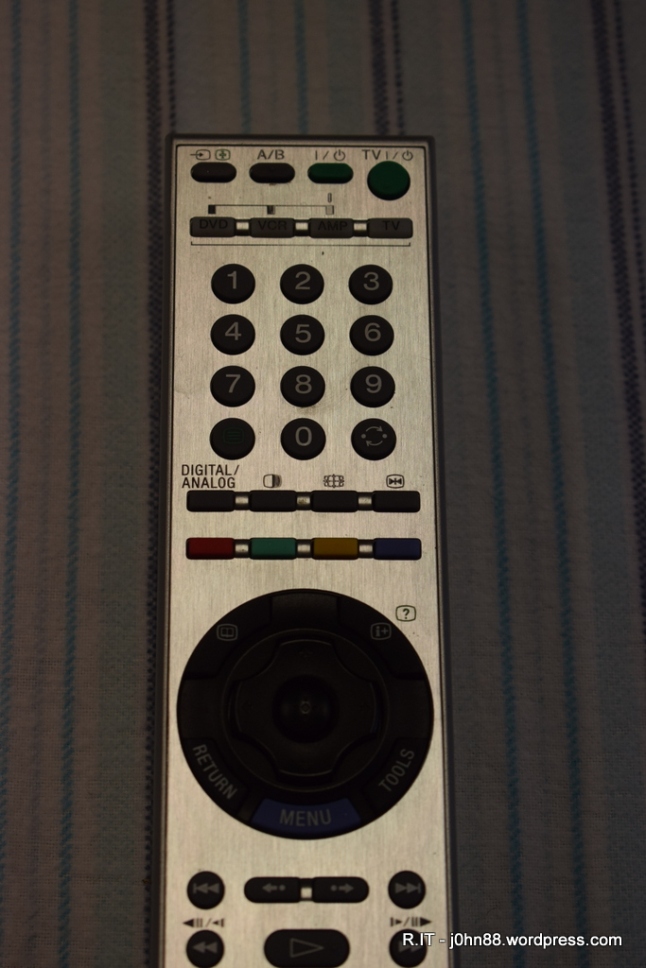
Now that this is relatively clean, I clipped the two housings back together, put the screws back in, and I have a functional remote control again. Another successful repair.
[Note 1] It can happen that with use, the conductive coating on the buttons are worn out. We can get a conductive paint and just paint onto the buttons again. This is available as a remote control repair kit, that I have seen on eBay but not used. Others have reported gluing thin pieces of aluminium foil onto the buttons.
[Note 2] What if you want to test the buttons, but the appliance is not available? I will explain how to do this with a common webcam attached to a computer. I have this webcam that I put onto the table, and aimed it where I was working. With the display on the monitor, I could press a button and confirm that the infrared led lights up. This is possible because unlike the human eye, webcams can still see infrared light even though they may have infrared blocking filters in place. I could also use a multimeter set to the current range, and activate the remote by putting the probes on either side of the black contacts – I did this to verify that the microcontroller was sensing the contacts currently.
Now this reminds me, the Samsung TV remote control in the lounge room was also playing up. I had a universal remote control lying around that I reprogrammed for the Samsung TV, maybe I should look at the failing remote control! Oh well, I will leave it for another rainy day.