Reconnect.IT – Battery connector for Samsung Galaxy Tab S SM-T705Y

Last year, my sister had brought over to me, a Samsung Galaxy Tab S model SM-T705Y. This was a tablet that Optus had been offering for people getting a new internet connection. I also had one, from my Optus connection years ago. Anyway, her problem was that the battery didn’t seem to last very long, and she ordered a replacement battery on eBay and came over for me to help in replacing it. At that time, I helped to replace the battery, then a week later, had to do the same thing again. The battery hadn’t lasted very long, so a replacement battery was sent out again.

After this second replacement, all went well until a week or so ago. She had accidentally dropped the tablet, but this time onto a tile floor. Previous times, dropping the tablet with its silicone shock-protected case onto carpet didn’t cause any noticeable damage, but this time it had failed. The fault was that after powering up, it would then decide to turn off by itself, almost as if the battery wasn’t working. She brought me the tablet, and I did some research on the problem. It seems that others have had this problem and determined that it may be the battery connector becoming dislodged or the connector socket had disconnected from the board.

It seemed unlikely, as the battery must be connected for it to power up and the tablet appeared to charge when I connect a charger to it, so what could it be? On Saturday evening, I opened up the tablet case. After removing the back cover, I could see that the battery connector – didn’t seem to be fully plugged into the socket. There was a slight bulge where the green wires were, so I pressed on the connector with my finger nail and it seemed to give, and gave a slight click when I did that.

On powering up, it seemed to stay turned on, which was different and seemed to be working again. I took a photo afterwards to show you what it looks like.

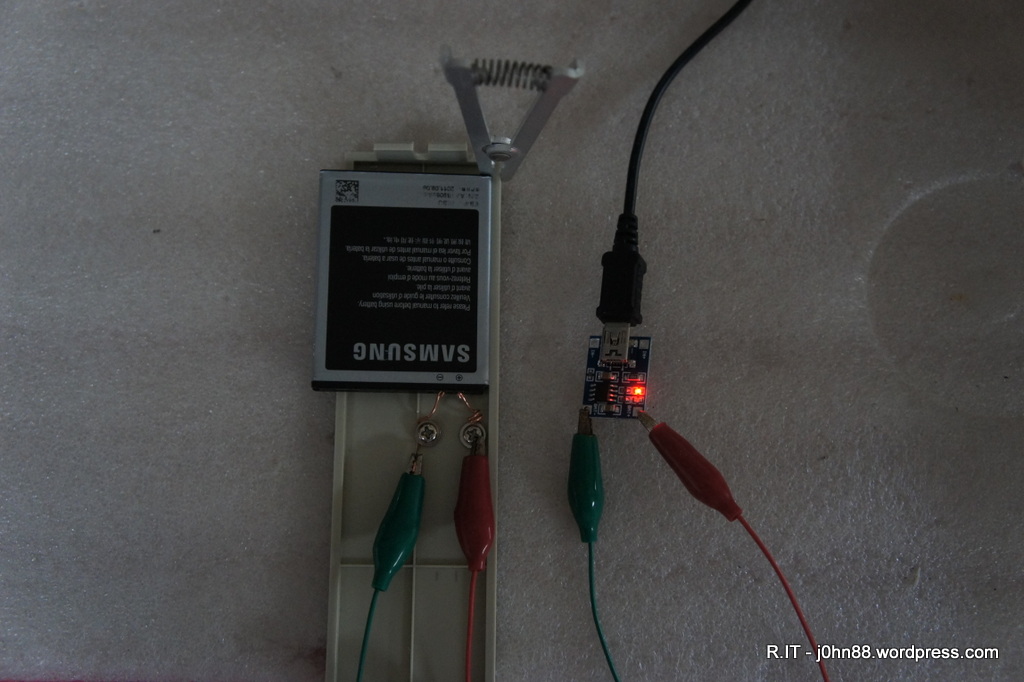
The white connector only has clips on the sides to attach it. For the battery to work, it means that the red and black wires must be connecting. The green wires must likly be used for BSI and BTemp. BSI is Battery Status (or System) Indicator that reports the status and capacity of the battery. BTemp is usually a thermocouple that reports the temperature of the battery.

This fault would then seem to be BSI related hence the tablet turns off because it cannot determine the status of the battery. That would also explain why repeating the turn on process gives quite wide variations of the reported battery capacity. Sometimes 85%, and other times 50%, then one time it turned off and when I connected the charger, it showed 1% capacity.

After some testing, the tablet remained on, so it was time to put the tablet back together. I pressed the connector one last time, and it still gave a slight click – which is a bit concerning. I used a magnifying loupe at 10x to visually inspect the connector terminals to the board and they looked intact – no sign of a dry joint, that could be another cause.

Anyway, I put everything back together and gave instructions that if this happened again, to press on the back cover firmly above and to the left of the micro USB port. This would likely be where the battery connector is, as seen in the photo.

Why does this happen? It could be that the replacement battery is not a genuine Samsung battery, even though it seems to have the right stickers, and that the battery connector might not have been made to the same tolerances as the original would be. I did notice that the connector didn’t seem to be the same colour as the original that had been removed the previous year. The connector seems a little more translucent. Maybe I should put the connectors under a microscope and see what the difference is in the terminals. Anyway, that’s it for now.

Recharge.IT – Samsung phone batteries

What happens when you are trying to fix a Samsung phone but the battery is flat, and won’t charge in the phone – for various reasons? Of course, find an identical working phone – put the battery in and charge it on that phone.

A while ago, my brother gave me a Samsung Galaxy S2 to look at. The touch-screen wasn’t working, and also the battery was flat. I also have a S2 but his battery also wouldn’t charge in my phone, so I put that aside. I opened up his S2 and was able to locate the display cable, which I think also included the touch-screen – so when I removed that connector and plugged it back in, the touch-screen started working again, so he got the phone back minus the battery.

Some time later, he gave me a Samsung Galaxy S3 to look at. This one had just stopped and would not boot up. It powers up but then stays at the Samsung Galaxy SIII GT-I9300 screen. I wrote about it here.

Research.IT – Samsung Galaxy S III GT-I9300 not booting

I have the battery for the S3 here still, so I thought about charging it. If the phone doesn’t boot up, then it will not charge the battery – very unlike a laptop. While doing a few Google searches, I came across mention of a TP4056 chip that would charge Lithium batteries. On eBay, these are very cheap – so cheap, that I ordered a few, as in five. I have this idea of getting those Lithium cells, like the 16550’s and converting everything to use Lithium instead of NiCad etc.

Of course, not everything works from 3.7 Volts, so I also ordered a few DC-DC boost converters, which will take the 3.7V and get 9V or even 12V etc. Again, not everything wants 5V, so for some things, it might like 3.3V so I also got some DC-DC buck converters. Oh, wouldn’t it be nice to have boost-buck converters?

In converter nomenclature, boost means to get higher voltage, and buck is to get lower voltage – from the input voltage – got? A boost-buck converter would be able to take any input, within reason and produce any output – within certain limits of course. They are available, but not as cheap as the boost or buck converters. Anyway, I am getting off topic.

So, these TP4056 chargers came in eventually. They can take an input voltage and produce up to 4.2V to charge a lithium cell. The charger also has a mini-USB connector on it, so I plugged in my GPS charger that can output 5V at 1A and tried it out.

I made a little jig to fit the battery and some copper wire, sort-of spring loaded to connect to the battery terminals, then used a couple of jury-rig wire clips to connect the battery to the charger. The TP4056 is set to charge at 1A which should be fine, since most phone batteries are more than 1Ah in size.

SONY DSC

Jury rigged lithium battery charging system

The S3 battery charged ok, even though it is a 3.8V Lithium-Ion battery. Now I have a fully charged S3 battery – what do I do with it, ok – later. I thought I would try the dead S2 battery, so I connected that one, and to my surprise – it started charging. I had previously tried to charge that battery with a specialized battery charger that could handle lithium batteries, but it had failed to charge.

Now, those of you who are know something about lithium batteries will say that this won’t fully charge a 3.8V battery. Of course, the end-point full charge of a 3.8V lithium battery will be about 4.35V whereas the 4.2V is for a 3.7V lithium battery – I certainly agree, however the difference in charge level is only small – perhaps 90+% of charge, and not 100%.

Let me tell you a little secret, which most of you know anyway. A lithium battery has a certain lifetime – defined as the number of full charge cycles. Let us say, for instance that it is 1000. Most of us, will need to charge the phone almost daily – which means that in about 3 years, if we left it to charge overnight, and in the morning – the phone was fully charged, that is a charge cycle. I didn’t finish, in about 3 years or so, the capacity of the battery will be diminished – it may start to happen in 2 years, and if you are lucky, in 3 years or so. By then of course, most people have already upgraded the phone.

So if everyone knows this, how is it a secret? The secret is – what if we don’t fully charge the battery? I.e. for a 3.7V battery that has a full charge voltage at 4.2V – what if we charged it only to 4.1V – and similarly for a 3.8V battery that has a full charge voltage at 4.35V, what if we only charged it to 4.2V? We actually wouldn’t be using up charge cycles – it’s like driving without the odometer clicking over. Theoretically, that battery would still be in top condition even after 10 years! The reason is business – we want you to replace the battery, so that we can sell batteries. We want you to replace the phone since it is getting old, and the new phone can run a lot more apps than the old one. It is just that simple.

Research.IT – Samsung Galaxy S III GT-I9300 not booting

My brother sent me his Samsung Galaxy S III, a 16GB GT-I9300 android phone – it wasn’t booting. Based on his report of the symptoms, I did some research on the internet and concluded that it was most likely a eMMC failure.

When I got the phone, the first thing I did was to plug in my charger. As expected a battery symbol comes up – not expected is that it doesn’t change, normally it will show a battery level going up as it indicates that it is charging.

I tried turning it on, the Samsung screen comes up, then stays there – doesn’t go away.

Ok, that isn’t good. Next I try to go to the Recovery Settings – press and hold volume up, menu and power. The screen will eventually go off, then the Samsung screen comes up then let go.


Now this seems to indicate that the phone is unable to access partitions in its memory.

/efs, /system, /cache, /data are separate partitions in its memory which is laid out as disk storage – if these are not accessible, the phone cannot boot and is essentially now just a brick. Further research on the internet shows up a lot of information that is contradictory in both nature and content. The only promising thing about the research is that I learnt more about this android smartphone environment. There were a few references to try to correct this by erasing the Nand flash memory, however doing so will require access to a pit file, a partition information table which is similar to a MBR in disk terms.

Even finding a pit file was difficult. I was able to find a zip file on the internet that contained not one, but three pit files. Trawling through more forums, I was able to find out some critical information – the pit files are for 16GB, 32GB and 64GB phone versions, so now I was able to identify the correct one to use, the 16GB one – of course.

Another forum page suggested that we try Nand erase then Re-partition, others say never do this. Other pages suggested that it was possible to fix it by doing this and then installing the stock firmware. In preparation, I downloaded both the android 4.1.2 and 4.3 stock firmwares for this phone which was from HK. I also downloaded Odin 3.07 and 3.09 – some sites say to use 3.07, others to use the later one – I also got 3.10 just in case.

Ok, now to put the phone into downloading mode.

Now we press and hold volume down, menu and power.

Then connect the phone to the computer after making sure that the Samsung USB drivers had been installed.

Now run Odin 3.07, load the pit file, select Re-Partition and Nand Erase All, load the PDA firmware which is the phone firmware for 4.1.2

SONY DSC

Now the time to click Start… and… Fail – ok, not unexpected.

SONY DSC

What it means is that the Nand flash memory is basically not accessible, cannot be erased, or written which means that my original conclusion was valid – the eMMC is dead. The only way to fix this is to replace the memory chip.

I also did try with different Odin versions, as other forum pages suggest, but the result was still the same. One possibility is that the memory chip being a bga chip might have suffered a fate similar to graphics chips in laptops – perhaps one thing that I could do is to heat it up with my smd rework station, the same way that I did on the Dell laptop – maybe that might fix it if the memory chip hasn’t actually failed, so something to try…